Bachelor of Science in Architecture E-Portfolio
SEMESTER 3
COMPUTER APPLICATIONS
(ARC60604)
Mr. Khairool Aizat Ahmad Jamal
This course will be introducing students to the world of Computer Generated 3-Dimensional drawings, other capabilities and complicated features of 3DS Max and Revit Architecture. Students will also be taught the potential of “cross breeding” different softwares, in order to garner the necessary desired results for their visualisation work.
COMPUTER APPLICATIONS
ASSIGNMENT 2
The project is a continuation of Assignment 1, which involves the production of photorealistic still renderings using 3DS Max of the selected architecture design with materials, appropriate camera views and post-production enhancement on the visual outcome.

ASSIGNMENT 2
Exterior & Interior Renderings
SS3 HOUSE by SESHAN DESIGN
FINAL RENDERS
INTERIOR RENDERING 1
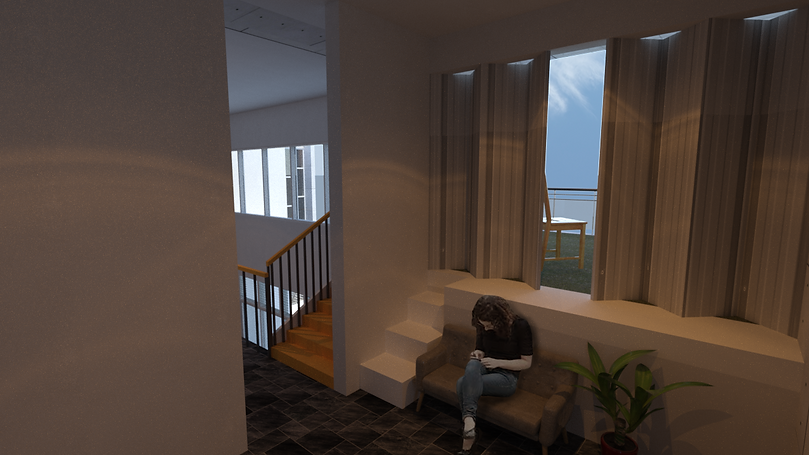
INTERIOR RENDERING 2

EXTERIOR RENDERING 1

EXTERIOR RENDERING 2

3DS MAX WORK IN PROGRESS DOCUMENTATION
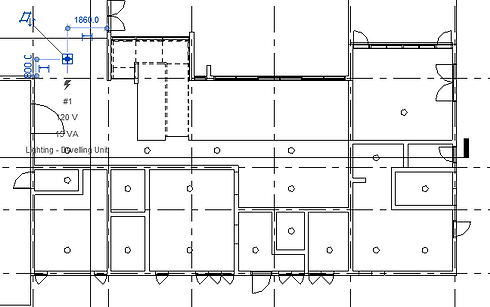
REVIT preparation before import
Downlight component lighting is added in REVIT in rooms and hallways of each level to ensure consistent brightness. Extra modelling is also included.

Camera creation
Physical cameras are created for exterior and interior views. Focal length and shutter speed are changed depending on selected view. The height of cameras are adjusted to 1500mm for eye level views.

Sun Positioner
Sun positioner is created and set to manual with a radius of 100mm, located above the building.

Sun and Sky Environment material
Through the material editor and render preview window, the sky intensity can be manually controlled to fit certain scenes.
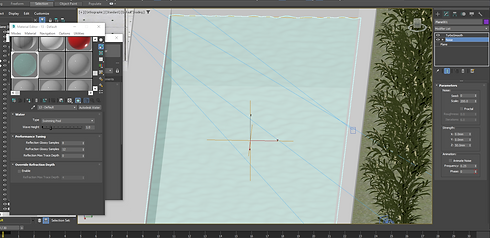
Water material modelling
For the swimming pool, a plane is created to show the water. The Noise modifier is added to created ripple effect by changing the effect scale. Preset water material is then added to the plane.
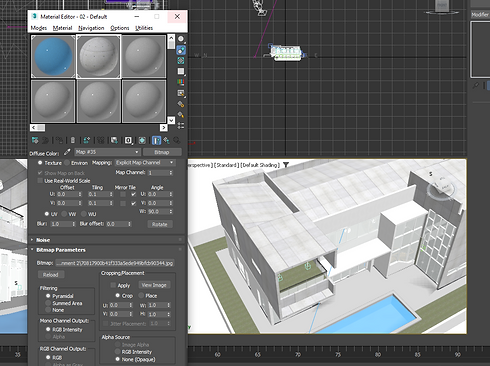
Special Material Mapping
Due to the specific concrete slabs of the building, a new material is created and mapped with the texture image. Tiling setting and UVW angle is adjusted to show the correct scaling of the texture.
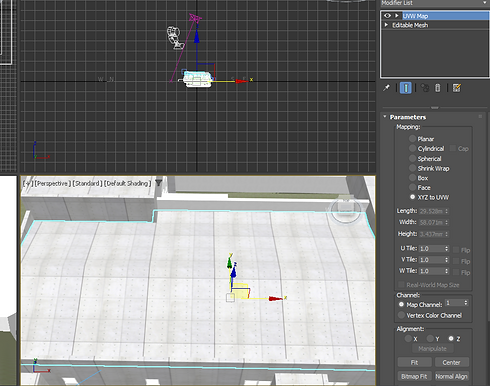
UVW Map Modifier
For certain faces like the roof, the material texture does not align. Therefore UVW mapping is used to adjust the texture.

Lighting settings and IES lighting
The lights are changed to Photometric web and applied with the IES lighting file provided. Lumen intensity is adjusted to fit the scene, with warm lighting for interior spaces.

3D Model Search on the internet
Through trial and error, many models are downloaded from the internet to test in the building. Some have missing textures and are not suitable for the scene.
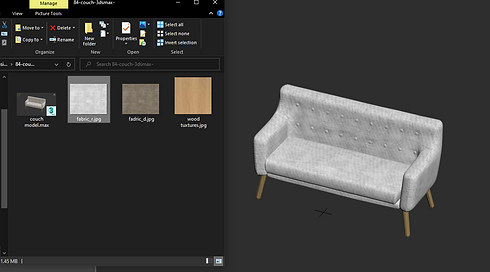
Model pre refining
The models are opened separately and tested with textures. After making sure they are suitable, they are then added into the building.
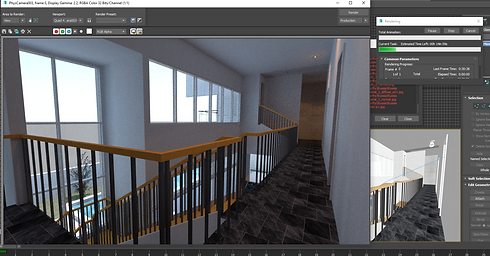
Test Rendering
Different views and rendering settings are tested. Lighting and sky intensity is then adjusted with each render to improve the scene.

Final Renderings
Final rendering settings are set to medium quality which takes 20 minutes to render. The images are then saved as PNG for transparent background which can be edited later.
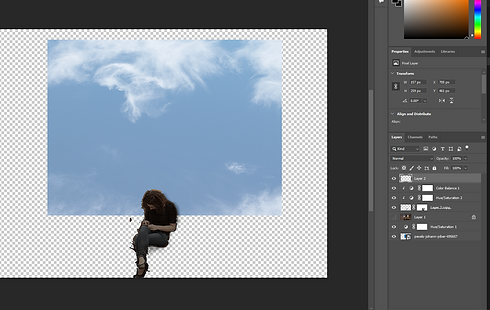
Photoshop Post Enhancement
Using online images, humans and background are added into the renders. Masking selection is used to crop out the human figures. Hue and saturation adjustments are done to make sure they fit in the render. Shadows are then added using brush with low opacity.


